

Manual data entry is time-consuming, prone to errors, and frankly, mind-numbing. If you find yourself repeatedly typing the same information into Excel spreadsheets, you’re wasting valuable hours that could be spent on more strategic tasks. An Excel automated data entry form can transform this tedious process into a streamlined, efficient workflow.
Creating an automated data entry form in Excel isn’t just about saving time—it’s about reducing human error, ensuring data consistency, and making information accessible to team members who might not be Excel experts. Whether you’re managing customer information, tracking inventory, or collecting survey responses, automated forms can revolutionize how you handle data.
This comprehensive guide will walk you through multiple methods for creating Excel automated data entry forms, from basic built-in features to advanced VBA solutions. By the end, you’ll have the knowledge to build forms that automatically populate your spreadsheets with accurate, formatted data.
What is an Excel Automated Data Entry Form?
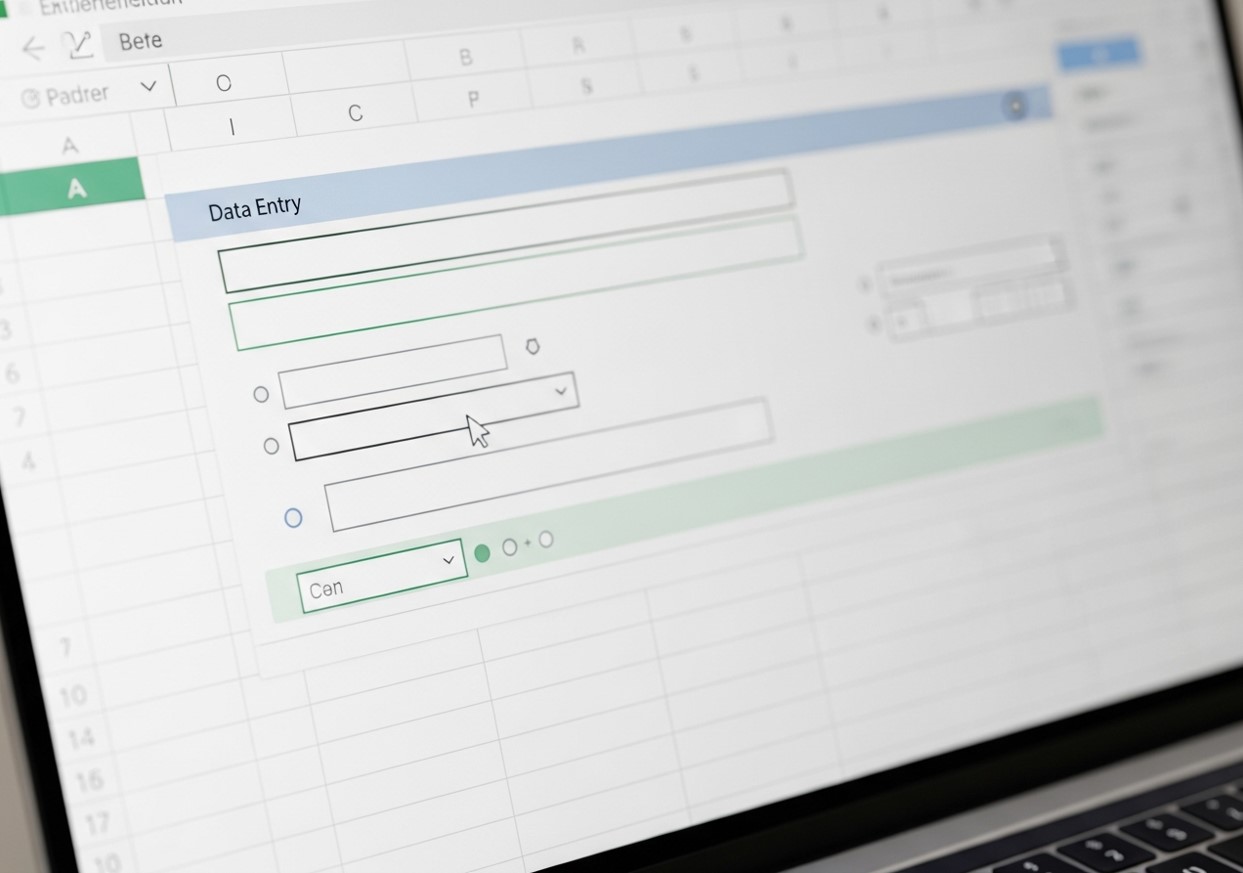
An Excel automated data entry form is a user interface that allows you to input data through structured fields rather than directly into spreadsheet cells. These forms automatically transfer the entered information to designated locations in your workbook, often with built-in validation rules and formatting.
The automation aspect comes from several key features:
- Automatic data placement into the correct rows and columns
- Data validation that prevents incorrect entries
- Formatted output that maintains consistency
- User-friendly interface that doesn’t require Excel expertise
Think of it as a digital equivalent of a paper form, but with the added benefit of instantly organizing and storing your data in a structured database format.
Benefits of Using Automated Data Entry Forms

Reduced Human Error
Manual data entry introduces countless opportunities for mistakes. Typos, incorrect formatting, and data placed in wrong cells can compromise entire datasets. Automated forms include validation rules that catch errors before they enter your system.
Improved Data Consistency
When multiple people contribute data to the same spreadsheet, inconsistencies inevitably emerge. Some might write “New York” while others use “NY.” Automated forms enforce standardized formats and options, ensuring uniformity across all entries.
Enhanced User Experience
Not everyone feels comfortable navigating complex spreadsheets. A well-designed form presents a clean, intuitive interface that guides users through the data entry process step by step.
Time Savings
Once set up, automated forms significantly reduce the time required for data entry. Users can quickly fill out fields without worrying about cell formatting or data placement.
Better Data Organization
Forms automatically structure your data for easier analysis and reporting. Cross-platform integration can be achieved with cross-platform data entry automation.
Using Excel’s Built-in Data Form Feature
Excel includes a basic data form feature that many users overlook. This tool creates a simple form interface for any data table.
Setting Up Your Data Table
Before creating your form, establish a properly structured data table:
- Create column headers in the first row of your worksheet
- Ensure each column has a descriptive, unique name
- Format your table as an Excel Table (Ctrl+T) for best results
- Keep column headers in a single row without merged cells
Accessing the Data Form
The Data Form feature isn’t visible by default in modern Excel versions. To access it:
- Click “File” → “Options” → “Quick Access Toolbar”
- Choose “Commands Not in the Ribbon” from the dropdown
- Find and select “Form” from the list
- Click “Add” to move it to your Quick Access Toolbar
- Click “OK” to save changes
Creating Your First Data Form
- Click anywhere in your data table
- Click the “Form” button from your Quick Access Toolbar
- Excel automatically generates a form based on your column headers
- Use the form to add, edit, or delete records
The built-in form includes navigation buttons to move between records and options to find specific entries using criteria.
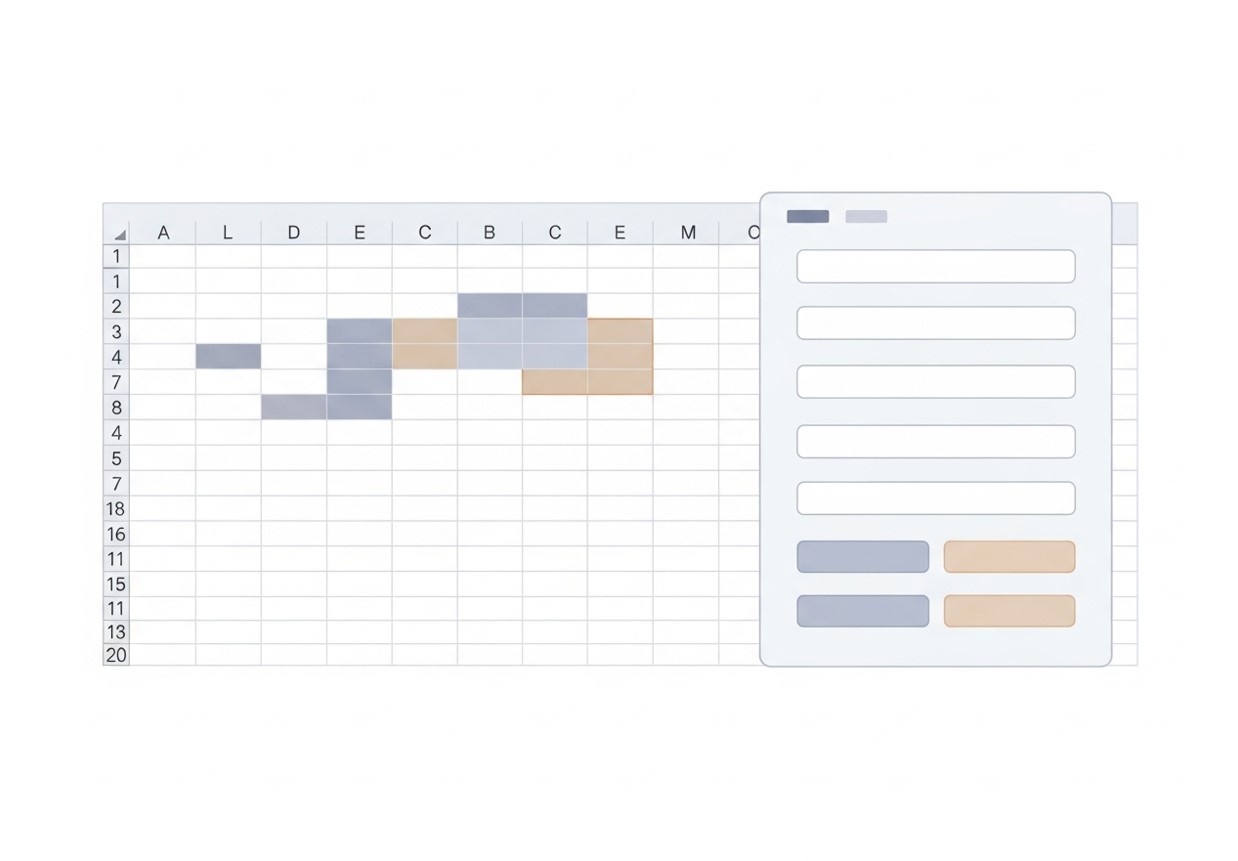
Creating Custom Forms with Data Validation
For more control over your data entry process, combine Excel’s data validation features with structured form layouts.
Designing the Form Layout
Create a dedicated worksheet for your form:
- Add a new worksheet and name it “Data Entry Form“
- Design your form with clear labels and input cells
- Use merged cells and borders to create a professional appearance
- Designate specific cells for user input
- Add instructions or examples where helpful
Implementing Data Validation Rules
Data validation ensures users enter appropriate information:
- Select the cell where users will enter data
- Go to “Data” → “Data Validation”
- Choose validation criteria:
- List: Creates dropdown menus from predefined options
- Date: Restricts entries to valid date ranges
- Number: Limits numerical entries to specific ranges
- Text Length: Controls the length of text entries
- Custom: Uses formulas for complex validation rules
Creating Dynamic Dropdown Lists
For fields with multiple options:
- Create a list of valid options on another worksheet
- Select the input cell in your form
- Apply data validation with “List” criteria
- Reference your options list as the source
- Check “In-cell dropdown” to display the arrow
Linking Form Data to Your Main Database
Connect your form to automatically populate your main data table:
- Create formulas in your database that reference form input cells
- Use functions like IF, ISBLANK, and INDEX to manage data transfer
- Add a “Submit” button (using shapes) to trigger data transfer
- Consider using OFFSET or dynamic ranges for growing datasets
Advanced Automation with VBA

Visual Basic for Applications (VBA) provides the most powerful automation capabilities for Excel forms.
Enabling the Developer Tab
- Go to “File” → “Options” → “Customize Ribbon”
- Check “Developer” in the right panel
- Click “OK” to enable the Developer tab
Creating Form Controls
Use the Developer tab to add interactive elements:
- Click “Insert” in the Developer tab
- Choose from Form Controls or ActiveX Controls
- Text boxes for free-form input
- Combo boxes for dropdown selections
- Option buttons for single-choice selections
- Check boxes for yes/no options
- Command buttons for actions like “Submit” or “Clear”
Writing VBA Code for Automation
Basic VBA code can automate data transfer from your form to your database:
Private Sub CommandButton1_Click()
Dim LastRow As Long
LastRow = Sheets(“Database”).Cells(Rows.Count, 1).End(xlUp).Row + 1
With Sheets(“Database”)
.Cells(LastRow, 1) = TextBox1.Value
.Cells(LastRow, 2) = ComboBox1.Value
.Cells(LastRow, 3) = CheckBox1.Value
End With
‘ Clear form after submission
TextBox1.Value = “”
ComboBox1.Value = “”
CheckBox1.Value = False
End Sub
Adding Error Handling and Validation
Robust VBA forms include error handling:
Private Sub CommandButton1_Click()
‘ Validate required fields
If TextBox1.Value = “” Then
MsgBox “Please enter a name”
TextBox1.SetFocus
Exit Sub
End If
‘ Continue with data transfer
On Error GoTo ErrorHandler
‘ … data transfer code …
ErrorHandler:
If Err.Number <> 0 Then
MsgBox “Error: ” & Err.Description
End If
End Sub
Using Excel Tables and Structured References
Excel Tables provide another approach to automated data entry with built-in benefits.
Converting Your Data to an Excel Table
- Select your data range including headers
- Press Ctrl+T or go to “Insert” → “Table”
- Verify the range and header options
- Click “OK” to create the table
Benefits of Excel Tables for Data Entry
Tables automatically expand when new data is added, maintain formatting consistency, and provide structured references that make formulas more readable.
Creating Input Forms with Table Integration
Design forms that automatically add records to your Excel Table:
- Create input cells above or beside your table
- Use formulas or VBA to transfer data from input cells to new table rows
- Tables automatically extend formatting and formulas to new entries
- Utilize table slicers and filters for easy data management
Best Practices for Excel Automated Data Entry Forms
Design for Your Users
Consider who will use your form and their Excel proficiency level. Create clear instructions, use intuitive layouts, and provide helpful error messages.
Implement Comprehensive Validation
Prevent bad data from entering your system:
- Use dropdown lists for standardized entries
- Set date ranges for time-sensitive data
- Validate email formats and phone numbers
- Check for duplicate entries
Plan for Data Growth
Design your forms and databases to handle increasing data volumes:
- Use dynamic ranges instead of fixed references
- Consider performance implications of complex formulas
- Plan for data archiving or separate worksheets by time period
Include Data Backup and Recovery
Protect your data with backup strategies:
- Save copies of your workbook regularly
- Consider using Excel’s auto-recovery features
- Document your form structure and any custom code
Test Thoroughly
Before deploying your form:
- Test all validation rules with various inputs
- Verify data transfers correctly to your database
- Check that formulas update properly with new entries
- Test with different user scenarios and edge cases
Troubleshooting Common Issues
Form Controls Not Working
If buttons or controls become unresponsive:
- Check that macros are enabled
- Verify object names match your VBA code
- Ensure the Developer tab is accessible
- Restart Excel if controls appear corrupted
Data Validation Errors
When validation rules don’t work as expected:
- Verify cell references in validation criteria
- Check for hidden characters in dropdown lists
- Ensure source ranges are correctly defined
- Test with various input scenarios
Performance Problems
Large datasets can slow form performance:
- Use efficient formulas (INDEX/MATCH instead of VLOOKUP)
- Limit the use of volatile functions
- Consider breaking large datasets into separate worksheets
- Optimize VBA code to reduce calculation time
Taking Your Forms to the Next Level
Once you’ve mastered basic automated data entry forms, consider these advanced features:
Integration with Other Office Applications
Connect your Excel forms with Outlook for email notifications, Word for report generation, or Access for more robust database functionality.
Web-Based Alternatives
For broader accessibility, consider Microsoft Forms or SharePoint lists that can integrate with Excel while providing web-based data entry.
Power Platform Integration
Microsoft’s Power Platform offers Power Apps for creating sophisticated forms and Power Automate for workflow automation that extends beyond Excel’s capabilities.
Transform Your Data Entry Process Today
Excel automated data entry forms are a powerful step toward building faster, more accurate, and more scalable data management workflows. Whether you rely on Excel’s built-in form tools, structured data validation rules, or advanced VBA-driven automation, the real value comes from aligning your solution with how your data will ultimately be used for reporting and decision-making—bridging the gap between raw input and meaningful insights, as outlined in this guide on connecting data entry with data analysis.
Start by identifying the data entry tasks that consume the most time or generate the highest error rates. Build a simple, user-friendly form using one of the approaches discussed earlier, test it thoroughly in real-world conditions, and collect feedback from the people who will use it daily. As confidence grows, you can layer in advanced features such as conditional validation, automated calculations, standardized dropdowns, and seamless integration with downstream analysis or reporting tools.
Ultimately, the most effective automated data entry form is one your team finds intuitive and reliable. By focusing on usability, accuracy, and consistency from the start, you’ll quickly realize tangible benefits—reduced manual errors, significant time savings, cleaner datasets, and a stronger foundation for data-driven decision-making across your organization.
Frequently Asked Questions (FAQ)
What types of data are best suited for automated Excel forms?
Automated forms are ideal for structured data such as customer information, inventory tracking, order processing, survey responses, and financial records. Any dataset where consistency, validation, and accuracy are crucial benefits greatly from automation.
Can automated forms handle large datasets efficiently?
Yes, but with careful planning. Using Excel Tables, dynamic ranges, and efficient VBA coding helps maintain performance. For extremely large datasets, integrating Excel with Access or cloud-based databases can further improve efficiency.
Do I need coding knowledge to create automated forms?
Not necessarily. Excel’s built-in data form and data validation features provide robust automation without any coding. However, for advanced functionality like dynamic dropdowns, custom workflows, or integration with other applications, VBA or Microsoft Power Automate knowledge can be extremely beneficial.
How can I prevent duplicate entries in automated forms?
Use data validation combined with formulas like COUNTIF to detect duplicates. VBA can also automate duplicate checks before submitting data, providing alerts or preventing entry if duplicates exist.
Is it possible to share automated forms with multiple users?
Yes. You can share Excel workbooks via OneDrive or SharePoint for collaborative data entry. Protecting sheets and controlling permissions ensures that data remains secure while allowing multiple users to enter information simultaneously.
Can automated forms work with other Microsoft Office tools?
Absolutely. Excel forms can integrate with Outlook for automated notifications, Word for report generation, and PowerPoint for dashboards. Microsoft Power Platform also allows seamless integration with Power Apps and Power Automate for more complex workflows.
What is the best way to maintain automated forms over time?
Regularly review validation rules, formulas, and VBA code to ensure everything functions correctly as datasets grow. Backup your workbook, document your automation setup, and gather user feedback to identify areas for improvement. Continuous testing and iteration are key to maintaining a reliable system.


