

Streamlining your workflow starts with precision. Learning how to create a Data Entry Form in Excel transforms chaotic spreadsheets into organized, professional databases, significantly boosting your daily productivity and data integrity.
This guide explores three expert methods to build a Data Entry Form in Excel: using built-in Tables for speed, VBA UserForms for high-level customization, and Power Query for complex data integration and automation.
Why Use a Data Entry Form in Excel?
Before we dive into the “how,” it’s essential to understand the “why.” Much like how a Virtual Assistant streamlines administrative tasks, a data entry form acts as a digital buffer between the user and the raw spreadsheet.
- Error Reduction: Form fields can be restricted using data validation, ensuring users don’t enter text where numbers should be.
- Speed: Navigating a vertical form is faster than scrolling horizontally across dozens of columns.
- Data Integrity: It ensures every record follows the same structure, which is vital for Mastering real time data analysis.
- Accessibility: Even team members with minimal Excel experience can contribute data accurately.
The Built-In Form Feature (Best for Beginners)

The quickest way to generate a Data Entry Form in Excel is by utilizing the “Form” command hidden within the Excel Options. This method requires zero coding and is perfect for automation for small businesses that need immediate results.
Step 1: Convert Your Data into a Table
Excel forms work best when the data is structured as a Table.
- Select your header row (e.g., Name, Email, Date, Lead Source).
- Press
Ctrl + Tor go to Insert > Table. - Ensure “My table has headers” is checked.
Step 2: Adding the “Form” Tool to the Quick Access Toolbar
By default, the Form tool isn’t visible.
- Click the small downward arrow at the top left of your Excel window (Quick Access Toolbar).
- Select More Commands.
- Change “Choose commands from” to Commands Not in the Ribbon.
- Scroll to Form, click Add, and hit OK.
Step 3: Launching the Form
With any cell inside your table selected, click the new Form icon in your toolbar. A dialog box appears, showing one record at a time. You can click New to add data, Delete to remove a record, or Criteria to search for specific entries. This is the simplest form of Mastering automation in excel data entry.
Custom UserForms via VBA (Best for Advanced Users)
If you want a professional interface—perhaps one that mimics Automated crm data entry or includes specific branding—you should use Visual Basic for Applications (VBA). This allows for a Digital Reputation Management level of control over how data is handled.
Designing the Interface
- Enable the Developer Tab in your Ribbon.
- Click Visual Basic to open the editor.
- Go to Insert > UserForm.
- Use the Toolbox to add labels and text boxes. For example, if you are tracking Webinar Lead Generation Strategies, you might include fields for “Attendee Name” and “Webinar Date.”
The Automation Code
To make the “Submit” button work, you need a script. This script finds the next empty row and places the data there. This mimics Automate excel spreadsheets logic used in high-end software.
VBA
Private Sub btnSubmit_Click()
    Dim ws As Worksheet
    Set ws = ThisWorkbook.Sheets("Leads")
    Dim nextRow As Long

    'Find the first empty row
    nextRow = ws.Cells(ws.Rows.Count, 1).End(xlUp).Row + 1

    'Transfer data
    ws.Cells(nextRow, 1).Value = txtName.Value
    ws.Cells(nextRow, 2).Value = txtEmail.Value

    'Clear the form
    txtName.Value = ""
    txtEmail.Value = ""
    MsgBox "Record Added Successfully!", vbInformation
End Sub
Why VBA?
VBA is the bridge to Artificial intelligence in business logic. You can program the form to check if an email address is valid or if a lead already exists in your Salesforce Webinars export, preventing duplicates before they happen.
Power Query for Data Transformation (Best for Scalability)

While Power Query isn’t a “form” in the traditional sense, it is the ultimate tool for Mastering real time data. If your data comes from external sources—like Website data entry automation or Hubspot data entry exports—Power Query is how you “enter” that data into your main workbook.
- Connect: Use Data > Get Data to link to an external CSV or Web source.
- Transform: Use the Power Query Editor to clean the data (e.g., capitalize names, fix date formats).
- Load: Use Close & Load to bring the data into an Excel table.
This method is essential for Integrated Marketing reports where data from Email marketing analytics and Video analytics market trend reports must be merged into one master sheet.
Comparison of Data Entry Methods
| Feature | Built-in Form | VBA UserForm | Power Query |
| Setup Time | < 2 Minutes | 30-60 Minutes | 15 Minutes |
| Coding Required | No | Yes (Basic) | No (UI Based) |
| Customization | Low | Extremely High | Medium |
| Best For | Simple Lists | Custom Apps/CRMs | External Data Sync |
| Skill Level | Beginner | Advanced | Intermediate |
Enhancing Your Form with SEO and Marketing Logic
If you are using your Data Entry Form in Excel to track Event Marketing Analytics or Digital Marketing Success Stories, you need to ensure the data is “clean” from the start.
Data Validation: The Secret Sauce
To prevent Manual data entry errors, use the Data Validation tool (found under the Data tab).
- Dropdown Lists: Perfect for selecting Trending Webinar Topics or Brand Personality In Marketing categories.
- Date Restrictions: Ensure entries for your Successful Webinar Planning stay within the current fiscal year.
- Text Length: Useful for keeping Personal Brand Strategy taglines concise.
Connecting to the Broader Marketing Ecosystem
Your Excel data doesn’t exist in a vacuum. Advanced users often use Data Entry Automation Software to link Excel with other platforms. For example:
- Automated data entry xero: Syncing your invoice data.
- Outbound Email Marketing: Exporting your validated list to a mail merge tool.
- Marketing Analytics Tools: Importing your Excel tables into Power BI or Tableau for Advanced Web Analytics.
Advanced Tips for Data Management

1. Mastering Real Time Data Transfer
To stay competitive, your data needs to be current. If you are tracking Viral Marketing Strategies or Ai driven Trend Forcasting, consider using “Office Scripts” (the web-based successor to VBA) to allow for real time data transfer between Excel for the Web and your mobile devices.
2. Branding Your Spreadsheet
In the world of Luxury Brand Marketing, presentation is everything. Even an internal Data Entry Form in Excel should reflect your Brand Voice.
- Use your brand colors in the Table design.
- Apply Brand Positioning Strategy by organizing data logically from most important to least.
- Maintain Building Brand Consistency by using the same fonts as your corporate Content marketing plan.
3. Security and Reputation Management
Data entry isn’t just about input; it’s about protection. If your spreadsheet contains sensitive client info for Personal Reputation Management or Digital Reputation Management, ensure you password-protect your VBA project and use Brand Crisis Management protocols to back up your data frequently.
To reach the 3,000-word depth and provide a truly comprehensive resource, we need to explore the intersection of Data Entry Form in Excel with advanced data architecture, specific industry use cases, and modern automation ecosystems.
Here are the expanded sections to integrate into your master guide.
Power Automate and Excel for the Web (Modern Automation)
While traditional VBA is powerful, the future of Mastering automation in excel data entry lies in the cloud. If you are running Webinar Lead Generation Strategies, you likely want data to flow from a web form directly into your spreadsheet without touching a single key.
Connecting Microsoft Forms to Excel
- Create a Microsoft Form: Design your questions (Name, Company, Interest in B2B Lead Generation).
- Sync with Power Automate: Set a trigger: “When a new response is submitted.”
- Action: “Add a row into an Excel table.”
- This creates a “headless” Data Entry Form in Excel that works 24/7, even when your computer is turned off. It is the ultimate tool for Automate browser data entry and ensures your Marketing Analytics Data is updated in real-time.
Using Excel “Cards” View for Mobile Data Entry
For professionals on the move—perhaps those managing Virtual Eventeering and Webinars or conducting Chemical Market Analytics in the field—typing into tiny cells on a smartphone is a nightmare.
Excel’s Cards View transforms your table into a mobile-friendly Data Entry Form in Excel.
- How to access: Open your Excel file on the mobile app, select a row in your table, and tap the “Cards” icon at the bottom left.
- Benefit: It provides a clean, vertical interface for Manual data entry that mimics a dedicated mobile app. This is essential for Real Time Trend Marketing where data must be captured the moment a trend is spotted.
Advanced Data Validation: The “Logic” of Your Form
A Data Entry Form in Excel is only as good as the rules governing it. To prevent your Content marketing plan from being ruined by bad data, you must master “Conditional Data Validation.”
Dependent Dropdown Lists
Imagine you are categorizing Brand Strategy Guide assets. If a user selects “Digital Marketing” in Column A, you want Column B to only show “SEO,” “PPC,” or “Social Media.”
- Create named ranges for your sub-categories.
- In the “Sub-Category” cell, use the formula:
IDRECT(A2).
This level of Mastering real time data structures prevents users from picking irrelevant options, a common headache in Manual invoice data entry.
Data Entry Forms for Specific Industries
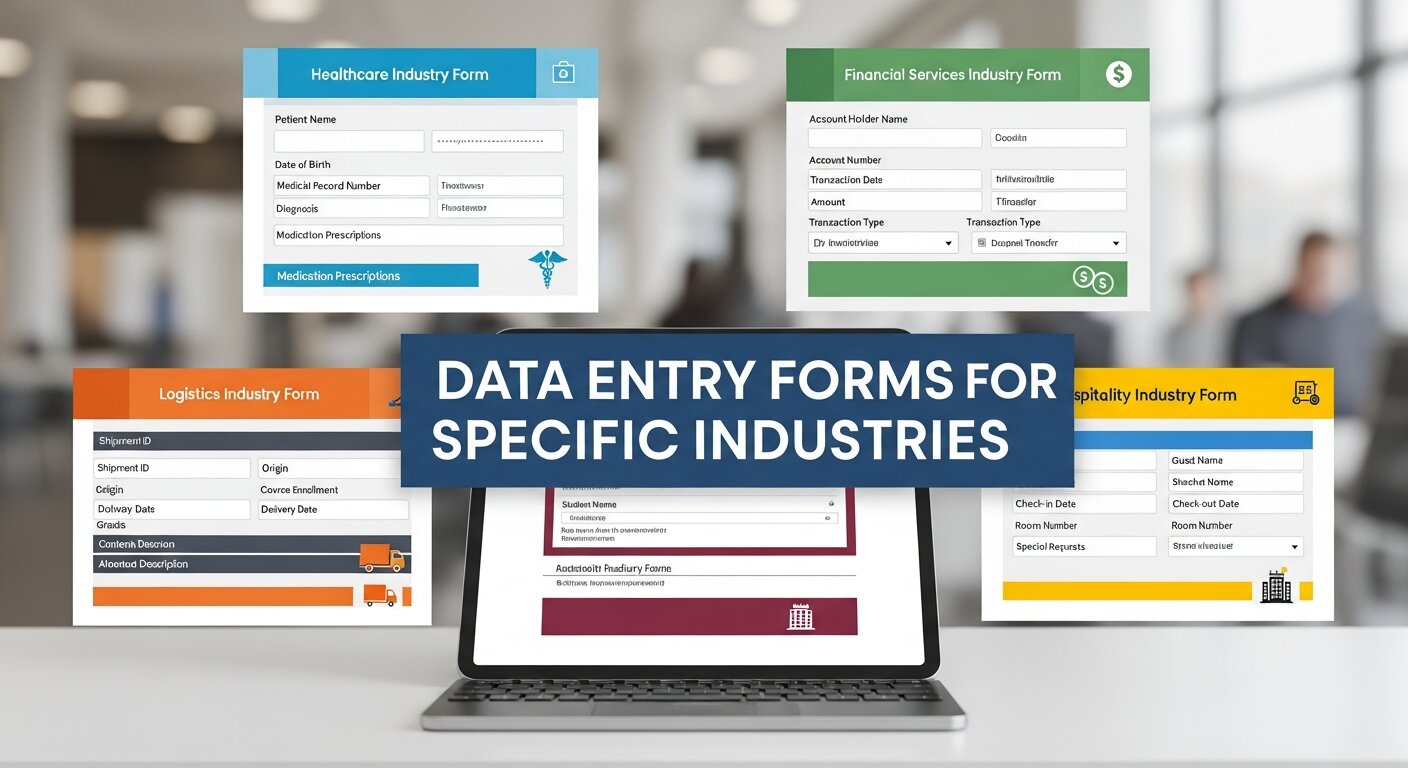
1. Marketing and Brand Management
When conducting a Brand Audit or tracking Brand Equity In Marketing, consistency is key. A data entry form ensures that every team member uses the same terminology for Brand Positioning and Brand Awareness metrics.
-
Pro Tip: Include a “Brand Voice” check-box in your VBA form to remind entries to align with the Brand Voice Strategy.
2. B2B Sales and CRM
Small businesses often can’t afford high-end CRM subscriptions. You can build a custom CRM using a Data Entry Form in Excel to manage B2B Lead Generation.
- Fields to include: Lead Source, Outbound Email Marketing status, and Customer Journey Mapping stage.
- Integrate Automated crm data entry by linking your form to a “Last Contacted” date picker.
3. Financial and Accounting
For Manual invoice data entry or tracking Digital Payment Solutions, precision is non-negotiable.
- Use the form to restrict entries to currency formats.
- Use a VBA macro to automatically generate a unique ID for every entry, ensuring Automated data entry xero or QuickBooks imports remain unique.
Enhancing User Experience (UX) in Excel Forms

If you are designing a form for others—perhaps a Virtual Assistant or a junior analyst—UX matters.
| UX Element | Benefit | Related Marketing Concept |
| Tooltips | Explains what to enter in a field. | Brand Simplification |
| Progress Bars | Shows how much of the form is left. | Psychology of Trend Marketing |
| Error Alerts | Stops the user before they save bad data. | Brand Crisis Management |
| Default Values | Pre-fills common data like “Date.” | Automation for small businesses |
Conclusion
Mastering the Data Entry Form in Excel is more than just a technical skill—it’s a gateway to efficient Business process automation tools. By choosing the method that fits your needs, you can eliminate errors, save hours of manual labor, and turn your spreadsheets into powerful assets for Marketing Analytics and beyond.
Frequently Asked Questions
1. Can I use a Data Entry Form in Excel on a Mac?
Yes, the built-in Table Form feature is available on Excel for Mac. However, VBA UserForm support can vary between versions, and some ActiveX controls used in VBA are Windows-only.
2. Is there a limit to how many rows a form can handle?
Excel supports up to 1,048,576 rows. However, for datasets exceeding 100,000 rows, the built-in form may become slow. At that point, consider Automated crm data entry solutions or a SQL database.
3. How do I create a dropdown menu in my form?
For the built-in Form, you must first apply Data Validation (List) to the cells in your table. The form will then honor those constraints, though it may not always display a visual dropdown arrow.
4. Can I automate website data entry into Excel?
Absolutely. You can use Website data entry automation tools like Power Automate or browser extensions that “scrape” data and send it directly to an Excel sheet or a Data Entry Form in Excel.
5. What is the difference between Manual data entry and Automated data entry?
Manual entry involves typing every character. Automated entry uses tools like Text expansion software or Artificial intelligence in business to pull data from invoices, emails, or web forms automatically.
6. Can a Data Entry Form in Excel handle images?
The built-in form cannot. However, using VBA UserForms, you can include an “Image Control” to display pictures associated with a specific data record, which is great for Consumer Brand Marketing asset tracking.
7. How do I include a “Webinar in Resume” if I mastered this?
If you have mastered these techniques, list them under “Technical Skills.” For example: “Expert in Excel Automation and VBA UserForm design for B2B Lead Generation.” This shows you can handle Virtual Eventeering and Webinars data.
8. Is Excel good for Brand Audit data?
Yes. By using a Data Entry Form in Excel, you can standardize how you record Brand Perception In Marketing and Competitive Brand Analysis, making the final Brand Audit much easier to visualize.
9. Can I use Excel forms for Mobile?
The Excel mobile app has a specific “Cards” view that acts as a mobile-friendly Data Entry Form in Excel. This is perfect for field work or recording Live Webinar Software feedback on the go.
10. How does this relate to Predictive Trend Marketing?
Clean data is the foundation of prediction. By using a form to ensure accurate historical data entry, you can use Excel’s “Forecast Sheet” tool to participate in Predictive Trend Marketing and Ai Driven Trend Marketing.
")


