

Manual data entry is often a bottleneck in business analytics; however, learning how to create Excel forms can streamline your operations, drastically reducing errors and saving valuable administrative time.
This comprehensive guide explores various methods to build professional data entry interfaces in Excel, ranging from simple built-in features and Data Validation to advanced automation using VBA UserForms for high-level business process automation.
The Evolution of Data Entry: From Manual Tasks to Automation
Data entry is the undisputed backbone of business analytics and reporting. Without clean data, your marketing analytics tools and consumer brand marketing strategies fall flat. However, manual data entry is notoriously tedious and prone to human error. In a world where real time data is king, relying on old-school “click-and-type” methods is no longer sustainable.
Implementing structured forms can reduce data entry errors by up to 80%. Whether you are managing inventory or tracking B2B lead generation metrics, custom Excel forms offer a professional solution without the need for expensive, specialized data entry automation software.
Why Excel Forms are Essential for Modern Businesses
Before we get into the technical “how-to,” let’s look at why mastering these forms is a game-changer for automation for small businesses:
- Structure and Consistency: Forms ensure every user follows the same template, which is vital for brand consistency.
- Error Reduction: By using Data Validation, you enforce standards that keep your “dirty data” to a minimum.
- User-Friendly Interface: You can shield non-technical staff from the “scary” parts of a massive spreadsheet.
- Data Integrity: Clean data allows for better predictive trend marketing and more accurate marketing analytics data.
Understanding the 4 Types of Excel Forms
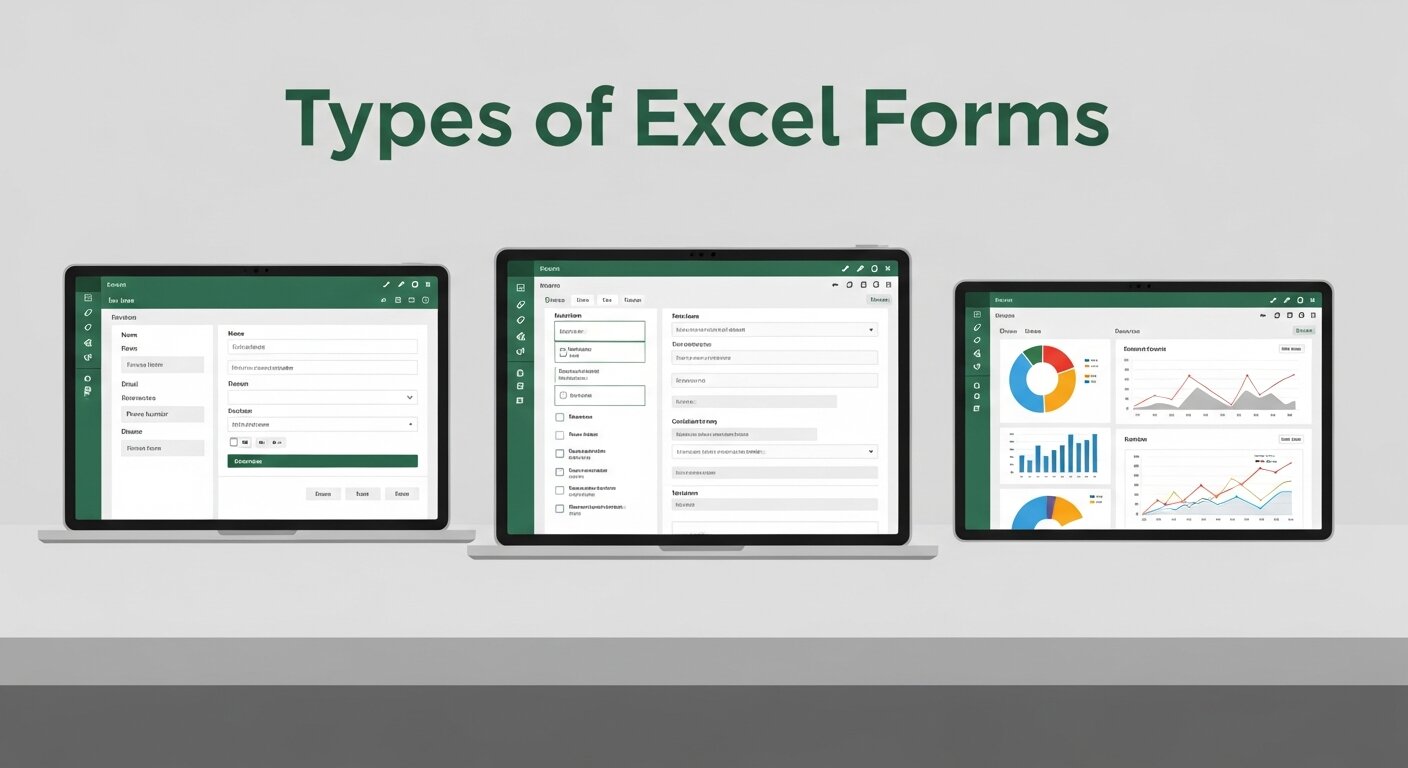
When learning how to create Excel forms, you first need to decide which “flavor” of form suits your technical comfort level and business needs.
1. The Built-in Data Entry Form
Excel has a “hidden” feature that automatically generates a dialog box for any table. It’s the quickest way to move away from manual data entry.
2. Data Validation & Worksheet Forms
This involves using the grid itself as a form. By using dropdown lists and protected cells, you create a “fill-in-the-blanks” experience directly on the sheet.
3. Form Controls
Found in the Developer tab, these allow you to add checkboxes, spin buttons, and combo boxes. This is excellent for brand strategy framework tools or interactive calculators.
4. VBA UserForms
The gold standard for business process automation tools. UserForms are custom-coded pop-up windows that provide a professional, software-like experience. This is where you truly start mastering automation in excel data entry.
Planning Your Data Structure
Success in automated data entry starts with a plan. You wouldn’t launch an integrated marketing campaign without a strategy; don’t build a form without a map.
- Define Requirements: What specific data points are needed for your marketing analytics hacks?
- Organize Categories: Group personal info, transaction details, and product codes.
- Identify Validation Rules: Which fields are mandatory? Should a “Discount” field be capped at 20%?
Building Your First Data Entry Form (The Easy Way)
Step 1: Set Up Your Data Table
First, create your headers (e.g., Date, Customer Name, Lead Source, Revenue). Highlight them and press Ctrl + T to turn them into a formal Table. This is the foundation for automating excel spreadsheets.
Step 2: Accessing the “Form” Command
The “Form” button isn’t on the ribbon by default.
- Go to the Quick Access Toolbar (top left).
- Click the dropdown arrow > More Commands.
- Set “Choose commands from” to Commands Not in the Ribbon.
- Find Form…, click Add, and hit OK.
Step 3: Using the Form
Click any cell in your table and hit that new Form button. A dialog box appears, allowing you to add, find, and delete records without scrolling through rows. This simple step is the first move toward website data entry automation for many local businesses.
Mastering Data Validation for Error-Free Entry
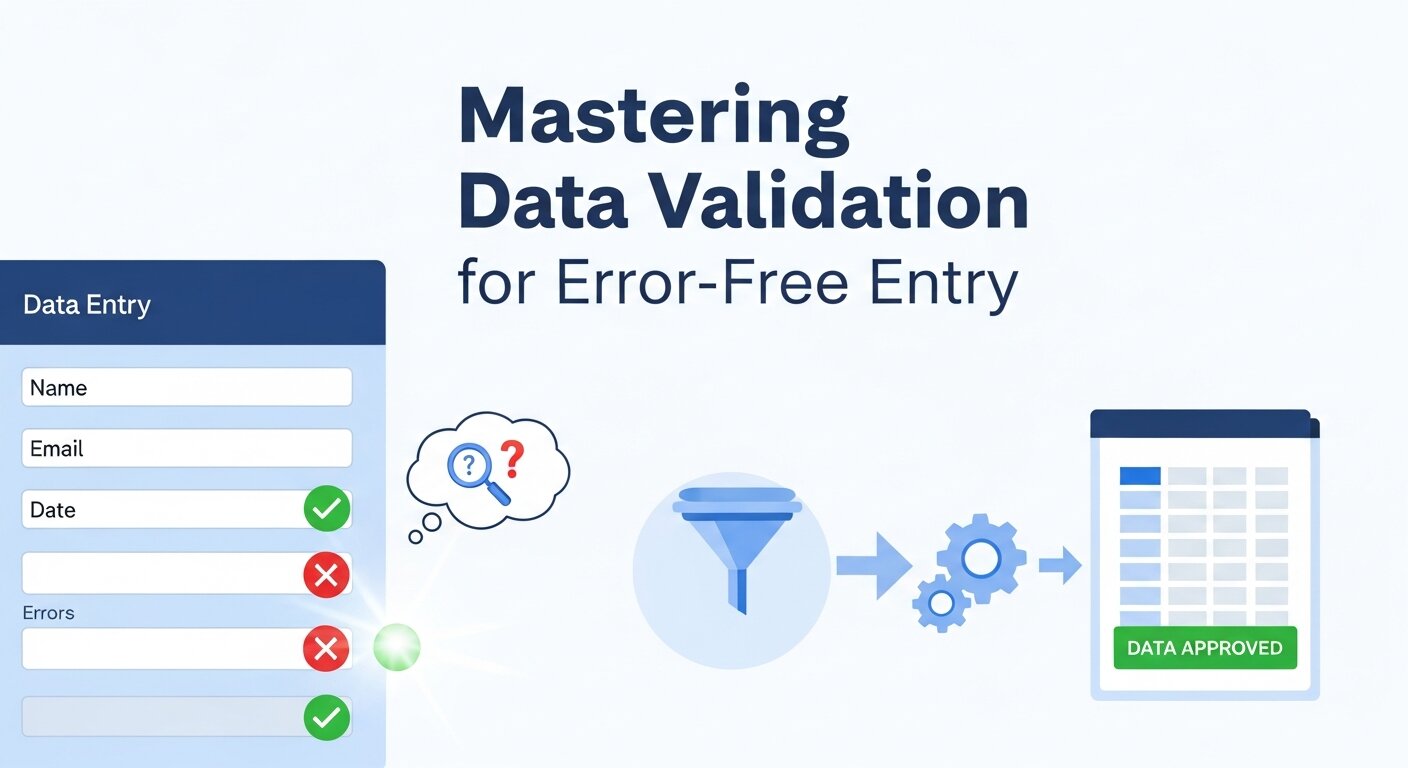
If you want to ensure your B2B lead generation data remains pristine, you must use Data Validation. According to SEMrush, data accuracy is a top priority for digital marketers.
Creating Dropdown Lists
- List your options (e.g., “Webinar,” “Email,” “Social Media”) in a hidden sheet.
- Select the input cell in your form.
- Navigate to Data > Data Validation.
- Select List and reference your range.
Setting Numeric Limits
Prevent “fat-finger” errors by restricting a “Quantity” cell to “Whole Numbers” between 1 and 1000. This is a core component of mastering real time data accuracy.
Advanced Automation with VBA UserForms
For those looking to build a “career of webinars” or manage a high-volume automated CRM data entry system, VBA is the answer.
Designing the UserForm
- Press
Alt + F11to open the VBA Editor. - Go to Insert > UserForm.
- Use the Toolbox to drag and drop TextBoxes (for names) and CommandButtons (for “Submit”).
The Code Behind the Magic
To make your form actually “do” something, you need a script. Below is a sample snippet to save data from a form to the next available row:
VBA
Private Sub btnSubmit_Click()
    Dim ws As Worksheet
    Set ws = ThisWorkbook.Sheets("SalesData")

    ' Find the next empty row
    Dim nextRow As Long
    nextRow = ws.Cells(ws.Rows.Count, 1).End(xlUp).Row + 1

    ' Transfer data
    ws.Cells(nextRow, 1).Value = Me.txtName.Value
    ws.Cells(nextRow, 2).Value = Me.txtEmail.Value
    ws.Cells(nextRow, 3).Value = Now() ' Timestamp

    ' Clear the form
    Me.txtName.Value = ""
    Me.txtEmail.Value = ""
    MsgBox "Data Saved Successfully!", vbInformation
End Sub
Implementing this level of automation for small businesses can replace the need for expensive SaaS development services in the early stages of a startup.
Comparing Data Entry Methods
| Feature | Built-in Form | Data Validation | VBA UserForm |
| Setup Time | Under 1 min | 5-10 mins | 30+ mins |
| Customization | Low | Medium | Very High |
| Skill Level | Beginner | Intermediate | Advanced |
| Best For | Quick lists | Internal tracking | Professional Apps |
Connecting Excel Forms to Your Broader Business Strategy

Your Excel form shouldn’t exist in a vacuum. It should feed into your digital marketing analytics and event marketing analytics. For instance, if you are tracking webinar lead generation strategies, your Excel form can act as a bridge between your live webinar software and your final reporting.
Integrating with Marketing
When you collect data via a form, you can easily export it to tools like Hubspot data entry systems or use it to measure SEO success. By mastering video analytics and linking that data back to your Excel sheets, you create a holistic view of your customer journey mapping.
Enhancing Brand Reputation
Using professional forms also impacts your brand perception in marketing. Imagine a virtual assistant sending a clean, automated form to a client versus a messy, unlocked spreadsheet. It signals authority and technical competence, key pillars of building brand authority.
Best Practices for Professional Excel Forms
- Tab Order: Ensure that when a user presses “Tab,” the cursor moves logically from top to bottom.
- Visual Hierarchy: Use bold headers and colors that align with your brand voice strategy.
- Data Backups: Always implement an auto-save macro or cloud backup. Losing a day’s worth of manual invoice data entry is a nightmare for any brand crisis management team.
- Protection: Lock your worksheet (
Review > Protect Sheet) so users can only click on the input cells. This prevents them from accidentally deleting your advanced web analytics formulas.
Troubleshooting Common Issues
“The Form Button is Greyed Out”
This usually happens if you aren’t clicked inside an Excel Table. Ensure your data is formatted with Ctrl + T.
“Macros are Disabled”
If you are using VBA for data entry automation, you must save your file as an .xlsm (Macro-Enabled Workbook). Check your brand safety in digital marketing settings to ensure your security software isn’t blocking your own scripts.
“Validation Isn’t Stopping Bad Data”
Ensure “Ignore Blank” is unchecked in your Data Validation settings if the field is mandatory. This is a common hurdle when automating browser data entry exports into Excel.
The Future of Excel and AI in Data Entry

We are entering the era of AI driven trend marketing. Microsoft is increasingly integrating AI (Copilot) into Excel. Soon, the question won’t just be how to create Excel forms, but how to prompt AI to generate the entire data entry automation software for you.
Staying ahead means understanding the logic of predictive trend marketing and how your data structures support artificial intelligence in business. Whether you’re focused on luxury brand marketing or ethical branding, the data you collect today is the fuel for the AI insights of tomorrow.
To elevate your guide from a standard tutorial to an industry-leading resource, we need to bridge the gap between simple data collection and business process automation.
The following sections integrate advanced technical strategies with high-level brand strategy and marketing analytics to ensure your Excel forms serve a larger corporate purpose.
Enhancing UX with Advanced Form Controls
If you want to move beyond the basic “grid” look, Form Controls allow you to build an interface that feels like a professional application. This is particularly useful for brand strategy framework tools where users need to select options rather than type text.
Incorporating Interactive Elements
- Checkboxes for Binary Data: Perfect for “Terms Accepted” or “Lead Qualified” fields.
- Option Buttons (Radio Buttons): Use these when a user must choose exactly one option from a small group, such as “Lead Grade: A, B, or C.”
- Spin Buttons: Ideal for numerical entries like “Quantity” or “Years of Experience,” reducing the need for manual data entry.
Professional Layout Principles
When designing your form, follow the brand voice strategy of your organization. Use consistent colors, clear fonts, and logical grouping.
- Group Related Fields: Use “Group Boxes” to visually cluster “Contact Information” separate from “Order Details.”
- Visual Feedback: Use Conditional Formatting to turn a cell green once it has been filled out correctly.
Integrating Excel Forms with Marketing Ecosystems
In the modern landscape of digital marketing analytics, your data entry shouldn’t be a dead end. It should be a gateway to mastering real time data.
From Lead Capture to CRM
If you are tracking webinar lead generation strategies, your Excel form can act as the staging area. Once data is entered:
- Automated CRM Data Entry: Use a VBA script to export your Excel table as a .CSV file that can be natively imported into platforms like Salesforce or HubSpot.
- Email Marketing Analytics: By capturing “Source Tags” in your form, you can later filter your data to see which B2B lead generation channel (e.g., LinkedIn vs. Cold Email) has the highest ROI.
Real-Time Data Transfer
For businesses relying on real time data transfer, you can link your Excel Workbook to Power BI. This allows your manual entries to instantly update high-level dashboards used for marketing analytics tools and event marketing analytics.
Conclusion
Mastering how to create Excel forms is more than just a technical trick; it is a foundational step toward full business process automation. By transitioning from manual data entry to structured, validated forms, you ensure your marketing analytics data is accurate and your workflow is efficient. Start small with built-in forms, and as your needs grow, embrace the power of VBA to create a truly unforgettable online event or business management system.
Frequently Asked Questions
1. How do I create a data entry form in Excel without coding?
You can use the built-in Form command. Simply format your data as a Table, add the “Form” button to your Quick Access Toolbar, and click it. This provides a pop-up window for data entry without needing VBA.
2. Can I use Excel forms for B2B lead generation?
Absolutely. Many businesses use Excel forms to standardize the input of lead information, which can then be uploaded to automated CRM data entry systems or used for email marketing analytics.
3. What is the difference between Form Controls and ActiveX Controls?
Form Controls are simpler and built into Excel, making them more stable across different versions. ActiveX Controls offer more design flexibility but can be “buggy” and are not supported on Excel for Mac.
4. How can I prevent duplicate entries in my Excel form?
You can use a Data Validation formula. For example, =COUNTIF($A$1:$A$100, A1)=1 will prevent the same value from being entered twice in a column.
5. Can I link my Excel form to a website?
While Excel itself isn’t a web-hosting platform, you can use Power Automate or Zapier to connect a web form (like Google Forms or Microsoft Forms) to an Excel spreadsheet for website data entry automation.
6. Is it possible to use these forms on a mobile device?
The built-in Data Entry Form doesn’t work well on mobile. However, if you use Microsoft Forms (part of Office 365), you can collect data on mobile and have it automatically sync to an Excel sheet.
7. How do I protect my form so users don’t break the formulas?
Select your input cells, right-click > Format Cells > Protection, and uncheck Locked. Then, go to the Review tab and select Protect Sheet. Now, users can only edit the entry fields.
8. What are LSI keywords and why do they matter for my data reports?
LSI (Latent Semantic Indexing) keywords are terms related to your main topic. In data reporting, using related terms like “real time data transfer” or “digital marketing analytics” helps search engines and AI tools understand the context of your data.
9. Can Excel forms handle manual invoice data entry?
Yes. By setting up a form with fields for “Invoice Number,” “Vendor,” and “Amount,” you can speed up the process. You can even use VBA to export these entries directly into accounting software like automated data entry Xero.
10. How often should I update my data entry forms?
Experts recommend a quarterly review. As your brand positioning strategy or content marketing plan evolves, you may need to add new fields to capture different types of marketing analytics data.
")


